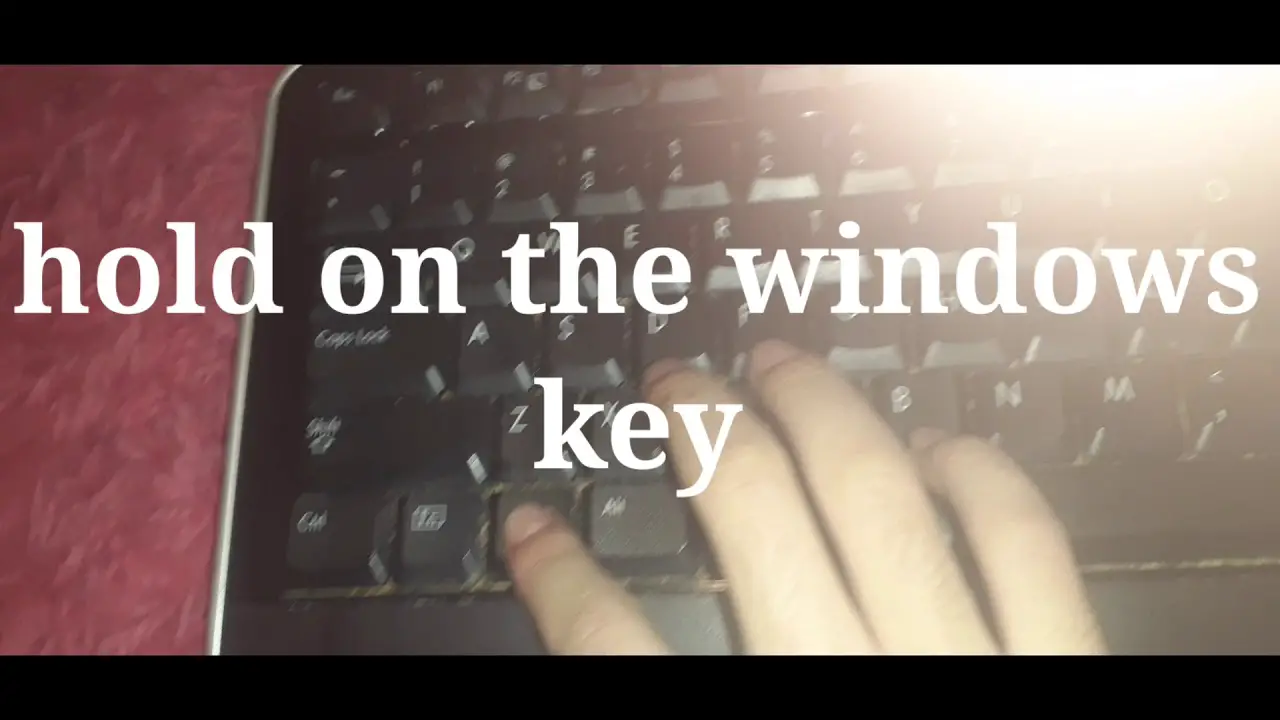
To take a screenshot on a Gateway laptop, press the “PrtScn” key. Simultaneously, press the “Windows” key to save the screenshot to your Pictures folder.
Want to capture an important moment on your Gateway laptop? Learning how to easily take a screenshot can be a helpful skill. Whether you want to share an error message with tech support or capture a memorable quote from an article, taking a screenshot allows you to save and share visual information with ease.
By following a simple keyboard shortcut, you can efficiently capture and store an image of your screen. We will explore the step-by-step process for taking a screenshot on a Gateway laptop. Additionally, we will also discuss alternative methods for capturing specific portions of your screen.
Gateway Laptop Screenshot Basics
Welcome to our guide on Gateway Laptop Screenshot Basics. Capturing your screen on a Gateway laptop is a simple process that can be incredibly helpful for a variety of tasks. Whether you need to save an image, share information, or troubleshoot an issue, the ability to take a screenshot is a valuable skill. In this article, we’ll delve into the essential keys for taking screenshots and explore the variations across different Gateway models, providing you with the knowledge you need to effectively capture your screen.
Essential Keys For Taking Screenshots
When it comes to taking screenshots on a Gateway laptop, several essential keys come into play. These keys provide the necessary functions to capture your screen accurately.
- Print Screen (PrtScn) Key: Pressing this key captures the entire screen and copies it to the clipboard.
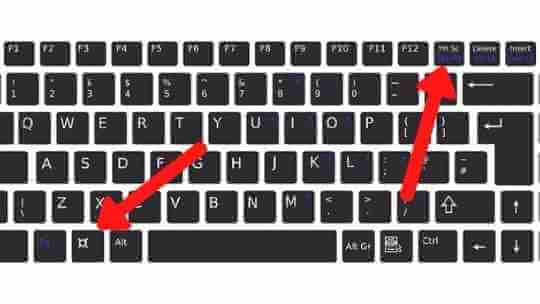
- Alt + Print Screen (PrtScn) Key: This combination captures the currently active window and copies it to the clipboard.
- Windows + Print Screen (PrtScn) Key: Simultaneously pressing these keys captures the entire screen and saves it as a screenshot in the “Screenshots” folder within the “Pictures” directory.
Variations Across Different Gateway Models
Gateway laptops may have slight variations in the keys and commands required to take screenshots based on the model or operating system. It’s important to familiarize yourself with the specific instructions for your Gateway laptop to ensure a seamless screenshot process.
If you encounter any challenges or differences in taking screenshots across different Gateway models, it’s recommended to refer to the user manual or online resources specific to your laptop model for detailed guidance.
The Art Of Capturing Screenshots
Full Screen Capture Technique
Capturing the entire screen on your Gateway laptop is a simple and useful way to document important information or share visually stunning presentations. Utilizing the full screen capture technique on your Gateway laptop is a breeze, and can be achieved with just a few easy steps.
Capturing Active Window Only
Sometimes, you may want to capture only the active window on your Gateway laptop, rather than the entire screen. Whether it’s for a quick snapshot of a specific program or application, or to focus on important details without the clutter of the entire screen, capturing the active window only can be an efficient way to produce targeted, high-quality screenshots.
How To Screenshot On Gateway Laptop
Learning how to take a screenshot on your Gateway laptop can be a useful skill, whether you want to capture important information, share an interesting find, or simply save a bit of digital memory. Fortunately, capturing your screen on a Gateway laptop is a simple process, and with a few easy steps, you can start taking screenshots in no time.
Comprehensive Steps For Beginners
If you’re new to taking screenshots, the process can seem a bit mysterious at first. However, with these simple steps, you’ll be capturing your screen like a pro in no time.
- Step 1: Identify the content you want to capture on your screen.
- Step 2: Press the “PrtScn” or “Print Screen” key on your Gateway laptop’s keyboard. This key is usually situated in the top-right corner and may be labeled differently on different models.
- Step 3: Open a image editing software such as Paint or Photoshop, then press “Ctrl + V” to paste the screenshot. Save the image in your desired location.
Troubleshooting Common Issues
If you encounter any issues while trying to take a screenshot, it can be frustrating. Here are some common problems and their solutions to ensure a smooth capture process.
- Issue: The screenshot doesn’t save or paste
- Solution: Try pressing the “Fn” key along with the “PrtScn” key. This combination may be necessary on some Gateway laptop models to capture the screen.
- Issue: The captured image is too large or distorted
- Solution: Use an image editing software to crop or resize the screenshot to your desired specifications.
Editing And Sharing Your Screenshot
Once you have successfully taken a screenshot on your Gateway laptop, you may want to make some adjustments or share it with others. Utilizing the built-in editing tools as well as sharing options can help you enhance and distribute your screenshots effortlessly.
Using Built-in Tools For Edits
If you want to enhance your screenshot, Gateway laptops offer built-in editing tools that allow you to make quick modifications. To access these tools, simply open the screenshot using the default image viewer. You can then utilize features like cropping, adding annotations, or applying filters to make your screenshot more engaging and informative.
Sharing Via Email And Social Media
After editing your screenshot to perfection, it’s time to share it with others. One of the most convenient methods to distribute your screenshot is via email. Simply attach the edited screenshot to an email and send it to the intended recipients. In addition, you can easily share your screenshot on various social media platforms. With just a few clicks, you can upload your screenshot to your preferred social media channel and instantly showcase it to your audience.
Advanced Screenshot Methods
When it comes to capturing your screen on a Gateway laptop, there are various methods available, ranging from the conventional to the more advanced ones. In this section, we’ll explore the advanced screenshot methods that can be employed, along with some useful tips for efficient management of screenshots.
Third-party Screenshot Software
One of the most efficient ways to take advanced screenshots on a Gateway laptop is by using third-party screenshot software. These tools offer a plethora of advanced features, such as extensive editing options, customizable hotkeys, and the ability to capture scrolling webpages. Some popular third-party screenshot software for Gateway laptops includes Snagit, Greenshot, and Lightshot.
Tips For Efficient Screenshot Management
Efficient management of screenshots is crucial for ensuring easy access and organization. Here are some tips to streamline the process:
- Create Folders: Organize your screenshots into specific folders based on projects, topics, or dates to keep them neatly categorized.
- Use Descriptive Filenames: Renaming screenshots with descriptive filenames can make them easily recognizable and searchable.
- Utilize Cloud Storage: Storing screenshots in cloud services like Google Drive or Dropbox ensures accessibility from any device and provides backup security.
- Delete Unnecessary Screenshots: Regularly purging unnecessary or duplicate screenshots helps in keeping the collection clutter-free.
Credit: laptopsidea.com
Frequently Asked Questions For How Do You Screenshot On A Gateway Laptop
How Do I Take A Screenshot On My Gateway Laptop?
To take a screenshot on your Gateway laptop, press the “Print Screen” key. This captures the entire screen. To capture a specific window, use “Alt” + “Print Screen”. You can then paste the screenshot in an image editing program or a document.
Can I Use A Snipping Tool To Take A Screenshot?
Yes, Gateway laptops come with a pre-installed snipping tool. You can use this tool to capture a specific area of the screen and save it as an image. Look for the snipping tool in the “Accessories” folder in the start menu or search for it in the Windows search bar.
Are There Any Third-party Screenshot Software Available For Gateway Laptops?
Yes, you can use third-party screenshot software such as LightShot, Greenshot, or Snagit on your Gateway laptop. These tools provide additional features and editing options for your screenshots. Simply download and install the software, and follow the instructions to use them.
Can I Change The Default Screenshot Save Location On My Gateway Laptop?
Yes, you can change the default screenshot save location on your Gateway laptop. Simply open the snipping tool or the default image editing software, go to the settings or options menu, and look for the save location setting. From there, you can select a new folder for your screenshots.
Conclusion
Learning how to screenshot on a Gateway laptop is a useful skill for capturing and sharing important information. By following the simple steps provided, you can easily take screenshots of your screen and save them for later use. Whether it’s for work or personal purposes, mastering this feature will undoubtedly come in handy.