The Sears 10/2 Amp Battery Charger Manual provides instructions for using the charger for automatic and manual charging, along with details on indicators for different battery conditions. It is essential to follow these instructions for safe and effective use of the battery charger.
Understanding the proper usage of the charger will help ensure the efficient and timely charging of your batteries, contributing to their longevity and performance. By familiarizing yourself with the manual, you can maximize the benefits of the Sears 10/2 Amp Battery Charger and maintain the optimal functioning of your batteries.
As you continue reading, you will gain a comprehensive understanding of the features and operation of this battery charger, empowering you to utilize it effectively for your charging needs.
Essentials Of Sears Charger Manual
Introduction to the manual’s significance: The Sears 10/2 Amp Battery Charger Manual is an essential guide for operating and maintaining your charger effectively. It provides detailed instructions on how to use the charger safely and efficiently.
Key safety instructions and precautions: The manual includes crucial safety measures and precautions to ensure the user’s protection and prevent potential hazards. It outlines the correct procedures for handling the charger and the batteries, emphasizing the importance of following safety guidelines.
Understanding your Sears charger features: The manual elucidates the various features and functions of the Sears charger, enabling users to comprehend the capabilities and utilities of the equipment fully. It provides insights into automatic and manual charging modes, charge rate selection, and interpreting indicator lights for informed usage.
Initial Battery Charger Setup
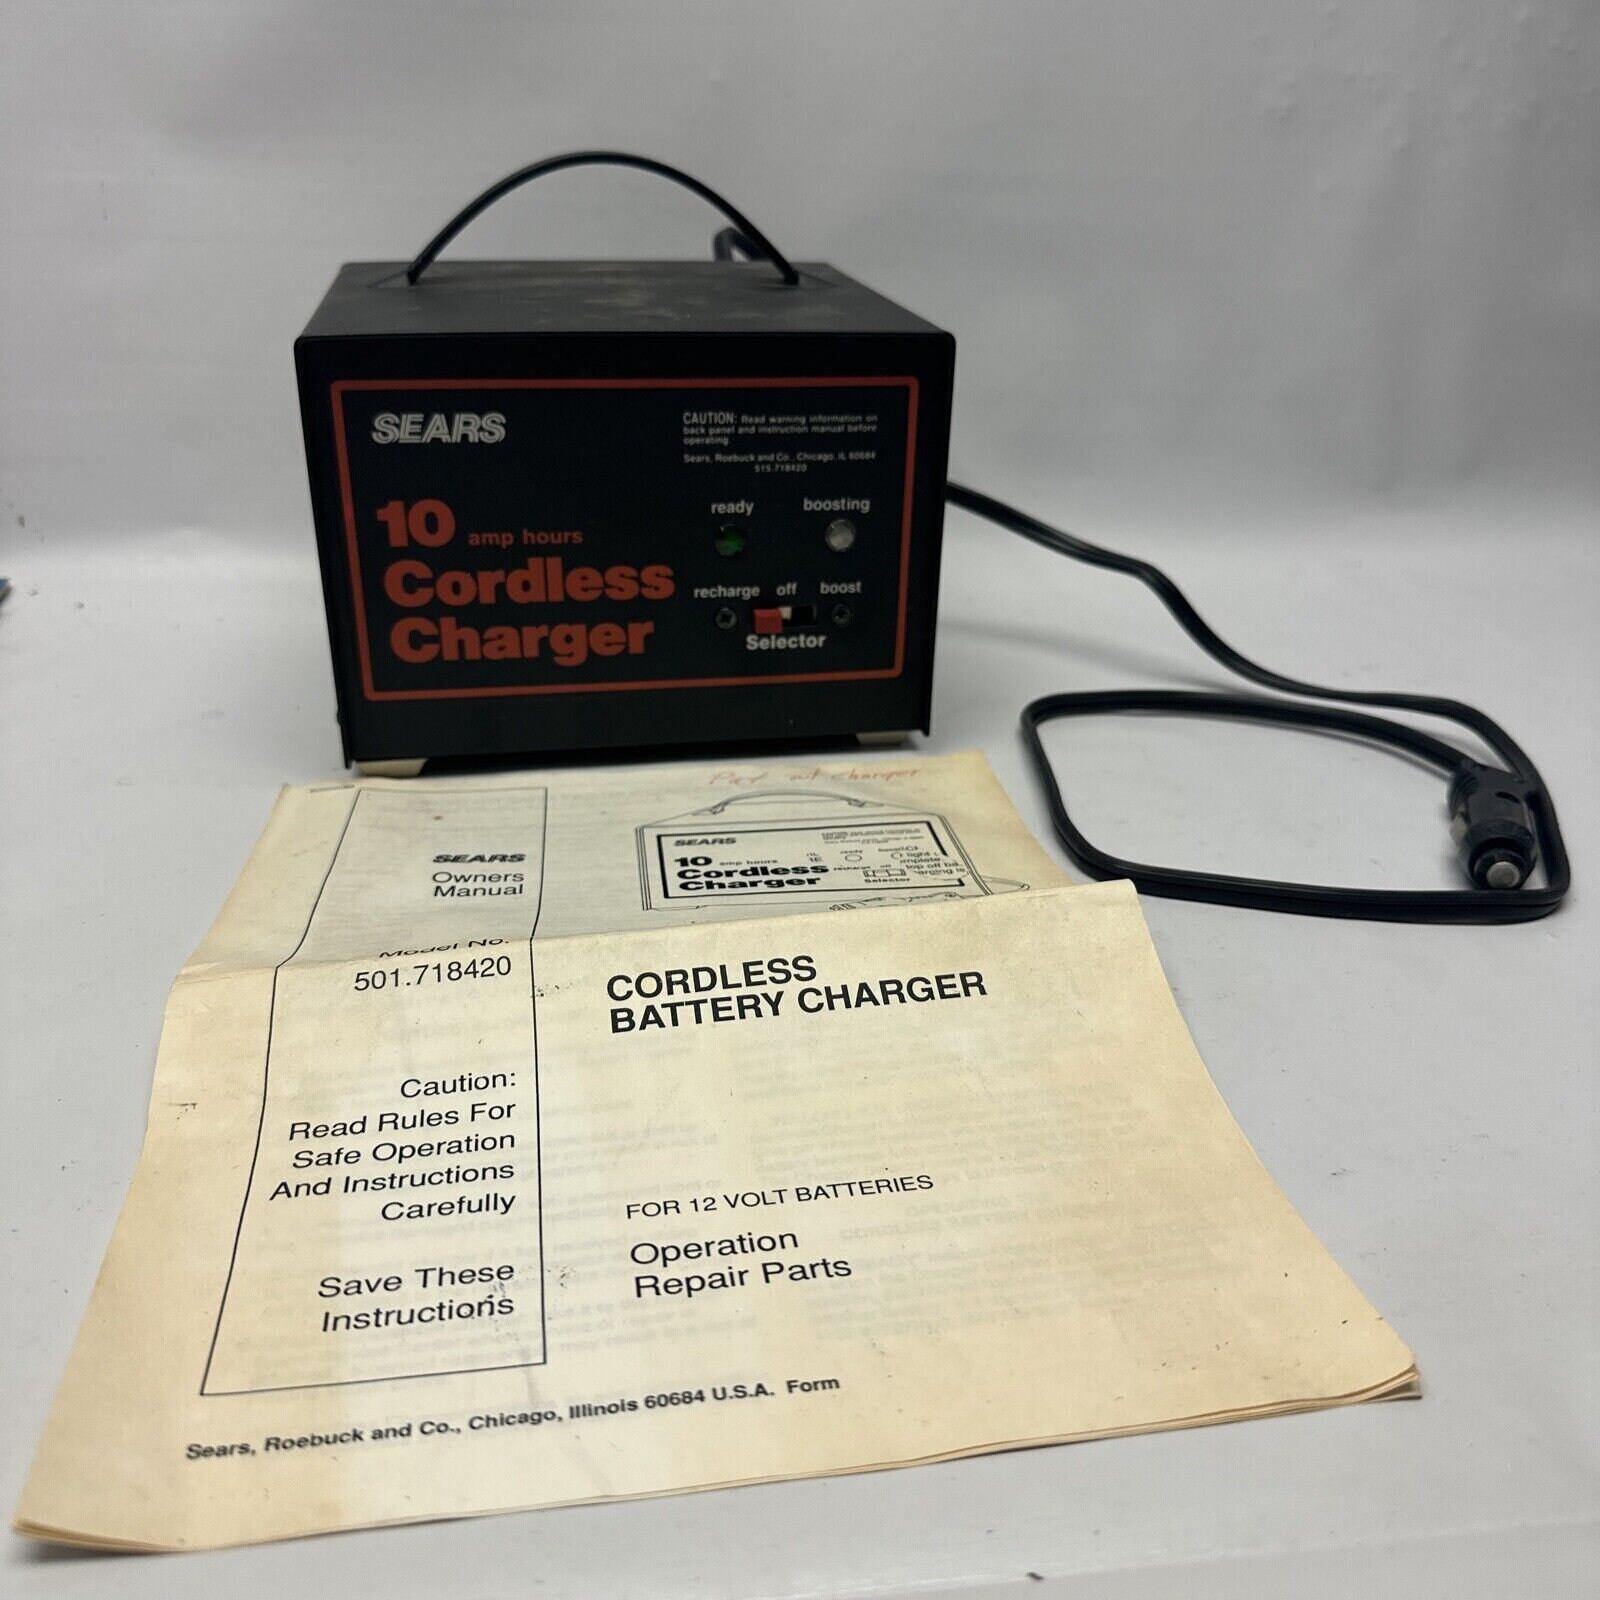
When setting up your Sears 10/2 Amp Battery Charger for the first time, it’s crucial to unbox and identify all the components. Take note of the charger’s control panel, the clamps, and the power cord. Once you have familiarized yourself with the components, plug the charger into a power source and your battery, ensuring that the clamps are securely connected. Following the safety and instruction manual, choose the appropriate charge type and rate, whether automatic or manual, and monitor the indicator lights to determine the charging status. Understanding these initial setup steps is essential to ensure proper and safe use of your battery charger.
Step-by-step Charging Process
Before starting the charging process, it is important to prepare your battery for charging, ensuring it is clean and free of any corrosion. Selecting the correct charging mode, whether automatic or manual, is crucial to ensure the proper charging process for your specific battery type. It is also essential to adjust the ampere settings based on the battery’s requirements to avoid overcharging or undercharging.
Once the charging process has begun, it is important to carefully monitor the charging progress to ensure the battery is charged safely and efficiently. Regularly check the charging status and be attentive to any indicators or lights provided by the charger to gauge the charging status accurately.
Troubleshooting Common Issues
Troubleshooting Common Issues: When encountering unexpected behavior or issues with the Sears 10/2 Amp Battery Charger, it’s important to consider the interpretation of indicator lights. The indicator lights provide valuable insight into the charging process and can guide you in identifying any potential problems. If you experience unexpected charger behaviors, such as flashing lights or failure to start charging, it’s essential to refer to the manual for specific troubleshooting steps. Regular maintenance is also crucial for maintaining charger functionality. Keeping the charger clean and ensuring proper storage can contribute to its longevity and reliable performance.
Regular Charger Maintenance
Longevity tips for the Sears 10/2 amp charger: Proper regular maintenance is crucial for extending the lifespan of your Sears 10/2 amp battery charger. Cleaning: Ensure that the charger is unplugged before cleaning. Use a dry or damp cloth to wipe away any dust or dirt from the charger’s surface. Storage: When not in use, store the charger in a dry and cool place away from direct sunlight and extreme temperatures. Avoid Moisture: It’s important to keep the charger away from any moisture or water to prevent damage. Inspection: Regularly inspect the charger for any signs of wear or damage and address any issues promptly to prevent further deterioration. By following these maintenance practices, you can ensure that your Sears 10/2 amp battery charger remains in optimal condition for a longer period.
Credit: www.etsy.com
Advanced Charger Care
Performing periodic checks on your Sears 10/2 Amp Battery Charger is essential to ensure its advanced care and longevity. Regularly inspect the charging cables, clamps, and overall physical condition for any signs of damage or wear. Additionally, conduct safety refreshers to remind yourself of proper charging procedures and precautions. Understand when it is necessary to seek professional maintenance or consider replacement for your battery charger. By staying proactive in your charger’s care, you can maximize its efficiency and safety in providing consistent power to your batteries.
Best Practices For Optimal Charging
When charging your batteries with the Sears 10/2 Amp Battery Charger, it is crucial to follow the guidelines for different battery types. Different batteries may require different charging methods and times. Optimal charging cycles and times are key to ensuring the longevity and performance of your batteries. It is important to avoid common user mistakes such as overcharging or undercharging, which can significantly impact the battery life.
Charging In Extreme Conditions
Understanding the impact of environmental factors: When using the Sears 10/2 Amp Battery Charger in extreme weather conditions, it’s important to make adjustments for cold weather or hot climates. Extreme temperatures can affect the charging process, and understanding how to adjust the settings will ensure optimal performance. In cold weather, charging times may increase, while in hot climates, overcharging can be a concern. Conduct a thorough assessment of the environmental conditions and make the necessary adjustments to the charger to ensure safe and efficient charging. Consult the manual for specific guidelines on modifying the charger settings for different environmental conditions.
Understanding The Charger’s Controls
When using the Sears 10/2 Amp Battery Charger, it’s important to understand the various controls and functions. The manual provides a detailed walkthrough of the buttons and functions, allowing users to customize their charging experience. The charger offers fully automatic and manual charging options, enabling users to select the charge type and rate according to their specific battery needs. It’s crucial to pay attention to the indicator lights, such as the red light indicating a low charge and the blinking green light indicating half charge. By familiarizing oneself with the charger’s controls, users can effectively and safely charge their batteries, ensuring optimal performance and longevity.
Interpreting Charger Feedback
When it comes to interpreting charger feedback, it’s crucial to pay attention to the signals and messages. Decoding light signals and display messages is essential for understanding the status of the battery and the charging process. If unexpected signals or messages occur, it’s important to identify the issue and take appropriate action. Whether it’s a blinking green light or a solid red indication, knowing what to do when the unexpected happens can prevent potential damage or malfunctions. Regularly checking the manual for the Sears 10/2 Amp Battery Charger can provide valuable insights into the meaning of different signals and messages, ensuring a smooth and effective charging experience.
Frequently Asked Questions Of Sears 10/2 Amp Battery Charger Manual
How Do You Tell When A Battery Is Fully Charged On A Battery Charger?
To determine if a battery is fully charged on a battery charger, select the auto charge mode and a charge rate. The charger will stop charging once the battery is fully charged. For manual charging, select the manual mode and desired charge rate.
Solid red indicates near empty.
How Do You Use A Sears Automatic Battery Charger?
To use a Sears automatic battery charger, first, select “AUTOMATIC DEEP CYCLE” or “AUTOMATIC REGULAR” based on the battery type. Then, choose a charge rate. The charger will stop when the battery is fully charged. For manual charging, select “MANUAL” and a charge rate.
What Does Red Light Mean On Craftsman Battery Charger?
The red light on a Craftsman battery charger indicates a low charge or that the battery is nearing empty.
What Does Blinking Green Light Mean On Craftsman Battery Charger?
The blinking green light on a Craftsman battery charger means the battery is at half charge. A flashing red light indicates a low charge, and a solid red light means the battery is nearly empty. Refer to the manual for instructions on using the charger.
Conclusion
The Sears 10/2 Amp Battery Charger Manual provides clear instructions on how to effectively charge different types of batteries. With detailed explanations and safety precautions, this manual ensures users can maximize the performance of their battery charger. By following these guidelines, you can confidently and safely charge your batteries, extending their lifespan and maximizing their efficiency.