To take a screenshot on a Gateway laptop, use the “PrtScn” key located on the keyboard. Press the “PrtScn” key to capture the entire screen or use “Alt + PrtScn” to capture the active window.
After taking the screenshot, you can paste it into an image editor or document using the “Ctrl + V” command. Capturing important information on your Gateway laptop is essential for sharing, saving, or documenting content. Whether it’s a snippet of an online article, a software issue, or an interesting social media post, knowing how to take a screenshot can be a valuable skill.
We’ll provide you with clear and simple steps to capture your laptop screen, including tips on different methods and where to locate your screenshots after capturing them. By the end of this guide, you’ll feel confident in your ability to capture and save any information on your Gateway laptop.
Gateway Laptop Screenshot Basics
Taking screenshots on your Gateway laptop is a simple yet essential skill that allows you to capture and save what’s displayed on your screen. Whether you need to save an error message for troubleshooting purposes or share a memorable moment from a video, knowing how to take a screenshot on your Gateway laptop is invaluable. In this guide, we’ll cover the fundamental aspects of capturing screens on your Gateway laptop, including the understanding of screen capture functionality, identifying the purpose of taking screenshots, and the prerequisites required before capturing screens on Gateway laptops.
Understanding Screen Capture Functionality
Screen capture functionality refers to the ability to capture the current display on your laptop screen as an image file. By using built-in keyboard shortcuts or dedicated software, you can take a snapshot of the entire screen or just a specific portion. Understanding how this functionality works is crucial for efficiently capturing the desired content on your Gateway laptop.
Identifying The Purpose Of Taking Screenshots
The purpose of taking screenshots varies from individual to individual. Whether it’s for keeping a record of important information, creating tutorials, or simply sharing interesting content with others, knowing the purpose behind your screenshots will determine the best method and tools to use for capturing screens on your Gateway laptop.
Prerequisites Before Capturing Screens On Gateway Laptops
- Check the keyboard layout: Ensure that you are familiar with the layout of the Gateway laptop’s keyboard, as specific keys or combinations are used for taking screenshots.
- Have a destination for your screenshots: Before capturing any screens, determine where you want to save the screenshots on your laptop to access them easily later.
- Understand the available methods: Familiarize yourself with the different methods available for capturing screens, such as using the Print Screen key, Snipping Tool, or third-party screen capture software.
Prerequisite Software And Tools
In order to take a screenshot on your Gateway laptop, you will need to utilize default software available on Windows or consider additional tools for enhanced features. Let’s delve into the options available for capturing screenshots on your Gateway laptop and the necessary software and tools to achieve this seamlessly.
Default Software For Screenshots In Windows
The default software for taking screenshots on Windows operating systems offers convenient and readily accessible tools for capturing images of your screen. The most common method involves using a combination of keys to trigger the built-in screenshot functionality. Pressing Windows Key + Print Screen simultaneously will capture the entire screen and save it as an image file in the default “Screenshots” folder within your “Pictures” library.
If you prefer to capture a specific window, simultaneously press Alt + Print Screen to copy an image of the active window to the clipboard. You can then paste the screenshot into an image editing software or a document for further use.
Additional Tools For Enhanced Features
While the default Windows screenshot tools are suitable for basic capturing needs, you may consider utilizing additional third-party software or applications to access more advanced features. These tools offer functionalities such as annotating screenshots, capturing specific regions, or recording screen activity. Popular options include Snagit, Lightshot, or Greenshot, which provide a range of additional capabilities for those seeking a more comprehensive screenshot solution.
How To Take A Screen Shot On A Gateway Laptop
Screen shots are a useful way to capture and share information on your Gateway laptop. Whether you want to save a webpage, document, or an error message, taking a screen shot is a handy skill to have. In this guide, we will explore the different methods to capture screen shots on your Gateway laptop.
Gateway laptops offer convenient keyboard shortcuts for quick and easy screen captures. The most common method is pressing the Print Screen key, labeled as PrtScn or PrtSc. This key allows you to capture the entire screen, including all open windows and applications.
Step-by-step Process For Taking A Full Screen Shot
To take a full screen shot on your Gateway laptop, follow these simple steps:
- Press the Print Screen key to capture the entire screen.
- Open an image editing software such as Microsoft Paint or Adobe Photoshop.
- Press Ctrl + V to paste the captured screen shot into the editing software.
- Save the image in your desired format (e.g., JPEG, PNG).
Capturing Active Window Versus Full Screen
When you want to capture the active window only, use the Alt + Print Screen keyboard shortcut. This combination captures the currently active window or application, allowing you to focus on specific content without including the entire screen.
Overall, taking screen shots on your Gateway laptop is a simple and effective way to preserve and share important information. With these keyboard shortcuts and step-by-step instructions, you can easily capture and store screen shots for future reference.
Editing And Sharing Your Screen Shots
When it comes to taking a screen shot on your Gateway laptop, you might also want to know how to edit and share those screen shots to perfectly capture and communicate your digital experiences. In this section, we’ll explore how to access your screen shots, perform basic editing using built-in tools, and share your screenshots via email or social media.
Accessing The Screen Shot
To access your screen shot on your Gateway laptop, simply navigate to the “Screenshots” folder in the “Pictures” directory. Alternatively, you can use the keyboard shortcut “Windows Key + PrtScn” to take a screen shot and save it directly to the Screenshots folder.
Basic Editing Using Built-in Tools
Once you’ve taken a screen shot, you can perform basic editing using built-in tools such as the Windows Snipping Tool or the “Snip & Sketch” feature in Windows 10. These tools allow you to crop, annotate, and highlight specific areas of your screen shot to enhance its visual impact.
Sharing Screenshots Via Email Or Social Media
Sharing your screen shots is a breeze on your Gateway laptop. Simply open the Screenshots folder, select the desired screen shot, and click the “Share” button to email the screen shot or upload it to your favorite social media platform. You can also drag and drop the screen shot directly into an email or social media post to instantly share your captured moments.
Advanced Screenshot Techniques
When it comes to taking a screenshot on your Gateway laptop, you may already know the basic methods, but there are advanced techniques you can use to capture specific screen areas and create custom screenshots. In this section, we will explore advanced screenshot techniques that can help you enhance your screen capture skills and take your screenshot game to the next level.
How To Capture A Specific Screen Area
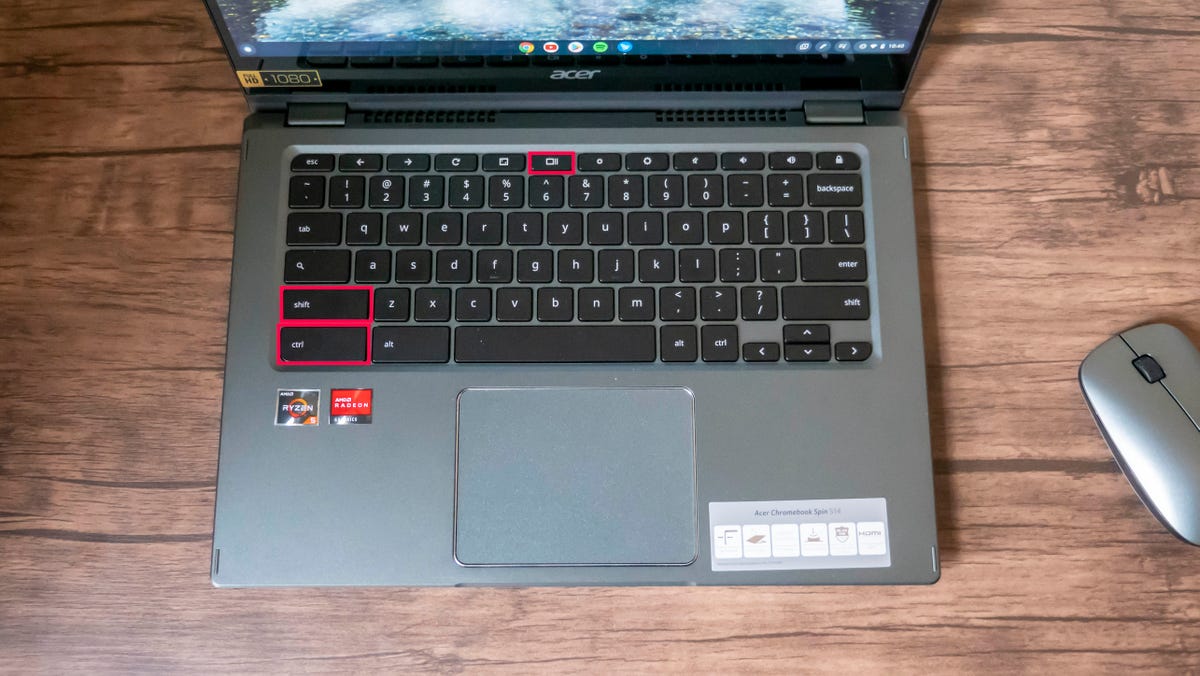
When you need to capture a specific screen area on your Gateway laptop, the traditional methods may not be sufficient. To do this, press the ‘Windows’ key and ‘Shift’ and ‘S’ simultaneously to open the snipping tool. Then use your mouse to select the specific area of the screen you want to capture. Once you have selected the area, you can save the screenshot in your desired format.
Using Snipping Tools For Custom Screenshots
If you need to create custom screenshots with specific shapes or annotations, the snipping tool on your Gateway laptop can come in handy. Simply open the snipping tool, choose the ‘New’ option, and then select the area you want to capture. You can further enhance the screenshot by using the tools available in the snipping tool, such as the pen and highlighter, to add annotations and emphasis to the screenshot.
Third-party Software Options For Advanced Users
For advanced users looking for more powerful screenshot capabilities, there are third-party software options available for Gateway laptops. These software packages offer advanced features such as scrolling capture, advanced editing tools, and cloud integration for seamless sharing. Some popular options include Snagit, Greenshot, and Lightshot, which provide a wide range of tools for customizing and enhancing your screenshots to meet your specific needs.
Credit: www.cnet.com
Troubleshooting Common Issues
Having trouble taking a screenshot on your Gateway laptop? Follow these simple steps: First, locate the “Print Screen” key on your keyboard, then press it. Next, open the Paint application and paste the screenshot. Crop and save the image as required.
Resolving Shortcut Key Failures
When encountering issues with the shortcut keys for taking a screenshot on your Gateway laptop, it is essential to ensure that the key combinations are being pressed correctly. Make sure to press the appropriate keys simultaneously to capture the screen. If the issue persists, verify that the keyboard drivers are up-to-date and functioning correctly. You can also try reassigning the shortcut keys in the settings to resolve any conflicts.
Addressing Image Quality Concerns
If you are experiencing image quality issues with your screenshots, it may be due to the screen resolution settings. Adjust the screen resolution to the recommended level for optimal image clarity. Additionally, consider using a different file format for saving the screenshots to prevent loss of image quality. Regularly clean the laptop screen to avoid capturing dust or smudges in the screenshots.
Overcoming Software Compatibility Challenges
When encountering software compatibility challenges, ensure that the screen capture software is compatible with your Gateway laptop. Update the software to the latest version to resolve any compatibility issues. It is also beneficial to check for any conflicting applications that may affect the screen capture process and close unnecessary background programs to enhance performance.
Frequently Asked Questions On How To Take A Screen Shot On A Gateway Laptop
How Do I Take A Screenshot On My Gateway Laptop?
On your Gateway laptop, press the “Print Screen” key to capture the entire screen. You can also use the “Alt” + “Print Screen” combination to capture just the active window. The screenshot will be saved to your clipboard for pasting into an image editing program.
What Are The Steps To Capture A Specific Area On My Gateway Laptop?
To capture a specific area on your Gateway laptop, press the “Windows” + “Shift” + “S” keys simultaneously. This will activate the “Snip & Sketch” tool, allowing you to select the area you want to capture, which will then be saved to the clipboard for editing or pasting.
Can I Use Third-party Software To Take A Screenshot On My Gateway Laptop?
Yes, there are numerous third-party software options available for capturing screenshots on your Gateway laptop. Some popular ones include Snagit, Greenshot, and Lightshot. These tools offer additional features such as annotations, editing, and instant sharing options to enhance your screenshot-taking experience.
Conclusion
Taking a screenshot on your Gateway laptop is a simple and useful feature for capturing important visuals. By following these easy steps, you can effortlessly capture and share information, troubleshoot technical issues, and save important images. Integrating this skill into your daily routine will enhance your productivity and communication.