To reset a Sharper Image drone, place the drone on a flat surface, turn on the controller, and raise the UP/DOWN lever to the top to pair the signals. For further details, refer to the user manual or online instructional videos.
Introducing the topic of resetting a Sharper Image drone is essential for enthusiasts and beginners alike. Understanding the process for resetting the drone can ensure proper functionality, especially after experiencing issues with the device. Whether it’s the need to sync the drone with the controller or troubleshooting specific problems, knowing how to reset the drone can aid in resolving technical issues.
By following precise steps and utilizing available resources such as manuals or online tutorials, users can effectively reset the Sharper Image drone for optimal performance and continued enjoyment.
Troubleshooting Your Drone
When troubleshooting your Sharper Image drone, make sure to identify common issues such as connection problems, malfunctioning controls, or unresponsive motors. Before attempting a reset, ensure safety by performing a pre-flight check and confirming that the drone’s battery is fully charged. It’s important to remove any obstacles from the drone’s path and calibrate the controls to prevent any accidents during the reset process. If the drone has a removable battery, ensure it is securely inserted to avoid any power issues during the reset. Taking these precautions can help in successfully addressing any drone issues while prioritizing safety.
Pre-reset Checks
Before resetting your Sharper Image drone, it is crucial to conduct a few checks to ensure a smooth process. Firstly, make sure to assess the battery levels and connections of the drone to ensure it has sufficient power for the reset. Verify the functionality of the remote control to avoid any potential issues during the reset process. Additionally, thoroughly inspect the physical condition of the drone to identify any existing damages or malfunctions that could hinder the reset. These pre-reset checks are essential to prepare the drone for a successful reset process.
Step-by-step Reset Guide
Resetting your Sharper Image drone is a straightforward process. To power down the drone, simply press the power button until the device turns off. Next, initiate the reset sequence by pressing and holding the reset button for approximately 10 seconds. Once completed, confirm the successful reset by checking if the drone’s lights blink or flash, indicating that the reset has been successful.
Calibration Post-reset
Understanding the importance of drone calibration: After a reset, it’s crucial to understand the significance of re-calibrating your drone. This process ensures that the drone’s sensors and internal mechanisms are aligned properly, enabling stable and accurate flight.
Detailed calibration process: The calibration process involves following specific steps outlined in your drone’s manual. This typically includes performing tasks such as gyro calibration and accelerometer calibration. These steps ensure that the drone is in an optimal state for flight.
Testing flight readiness: Once the calibration process is complete, it’s essential to perform a test flight to ensure that the drone is functioning as expected. This allows you to confirm that the reset and calibration have been successful, and the drone is ready for safe and stable flight operations.
Syncing Drone And Controller
To reset your Sharper Image drone and sync it with the controller, follow these steps:
- Turn off both the drone and the controller.
- Turn on the controller and then the drone.
- Wait for the drone’s lights to flash rapidly.
- Move the throttle lever up and down on the controller.
- The lights on the drone will become steady, indicating a successful connection.
If you encounter any connection issues, try the following:
- Ensure that batteries are fully charged and correctly inserted in the controller.
- Check for any obstructions or interference in the drone’s operating area.
- Verify that the controller and drone are within the recommended range for synchronization.
Once synchronized, verify the successful connection by testing the drone’s responsiveness to the controller’s commands.
Maintenance Tips
When it comes to maintaining your Sharper Image Drone, it is important to keep it in optimal condition. Regular firmware updates are crucial to ensure that your drone is operating with the latest software, which can improve performance and fix any potential issues. Additionally, cleaning and storage are best practices for prolonging the life of your drone. Keeping the drone clean from dust and debris and storing it in a cool, dry place can prevent damage and extend its lifespan. By following these maintenance tips, you can ensure that your Sharper Image Drone stays in top condition for a long time.
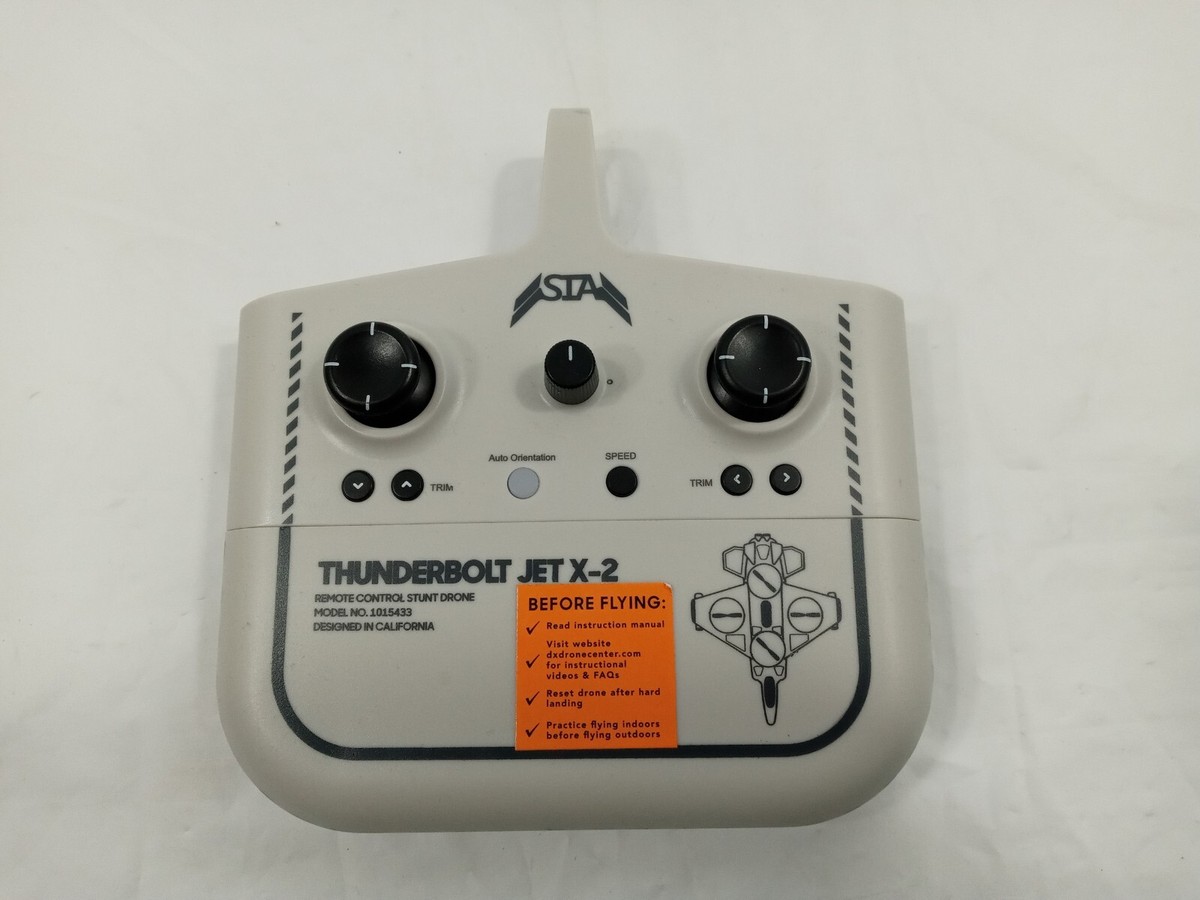
Credit: www.ebay.com
Frequently Asked Questions For How To Reset Sharper Image Drone
How Do I Reset My Drone To Factory Settings?
To reset your drone to factory settings, refer to the instruction manual for the specific model. Typically, this involves accessing the settings and selecting the option to reset. Alternatively, search for tutorials online for step-by-step guidance.
How Do You Sync A Sharper Image Drone?
To sync a Sharper Image drone, place it on a flat surface and turn on the controller. Raise the controller’s UP/DOWN Lever to the top to pair the signals. That’s it!
How Do You Remove A Sharper Image From A Drone?
To remove a sharper image from a drone, press the “START/LANDING” button to lift off. If needed, pull the throttle lever down and to the left for an emergency stop. For a factory reset, consult the user manual or find tutorials online for specific instructions.
How Do I Know If My Sharper Image Drone Is Charging?
When charging, the LED lights turn red; when fully charged, they turn green. For further assistance, refer to the user manual or instructional videos.
Conclusion
If you are experiencing issues with your Sharper Image drone, a reset can often resolve the problems. Understanding the reset process and following the necessary steps can help you ensure that your drone is functioning correctly. By following the provided instructions, you can quickly reset your drone and get back to enjoying your flying experience.