To connect a Nintendo Switch to a projector, use an HDMI cable or an HDMI adapter, and plug one end into the Switch and the other into the projector. It’s essential to ensure the compatibility of the adapter with the Switch and the projector’s input ports.
Integrating gaming consoles with projectors has gained popularity as it elevates the gaming experience, immersing players in larger-than-life visuals. When connecting a Nintendo Switch to a projector, simplicity is key. With the use of the appropriate cables or adapters, gamers can seamlessly project their gameplay onto a big screen, unlocking a captivating and dynamic gaming environment.
In this guide, we’ll explore the straightforward process of integrating a Nintendo Switch with a projector, catering to gaming enthusiasts looking to enhance their gaming setup.
Understanding The Connection
When connecting your Nintendo Switch to a projector, there are some basic requirements to consider. The first step is to ensure that the projector has the necessary ports to support the connection. Most projectors are compatible with HDMI, so it’s crucial to have an HDMI cable for the connection. Additionally, check if the projector supports Bluetooth connectivity, as some projectors can connect wirelessly to the Switch.
When it comes to the types of connections supported by the Switch, HDMI is the most common and reliable option for connecting to a projector. However, if you don’t have a dock, you can use an HDMI-to-USB-C adapter or an HDMI-to-mini HDMI adapter to establish the connection directly from the Switch to the projector.
Furthermore, before making the connection, it’s important to verify the compatibility of the projector with the Nintendo Switch. Some projectors may require specific settings or adjustments to display the Switch content correctly. Once everything is set up, you can enjoy playing your favorite Nintendo Switch games on the big screen using the projector.
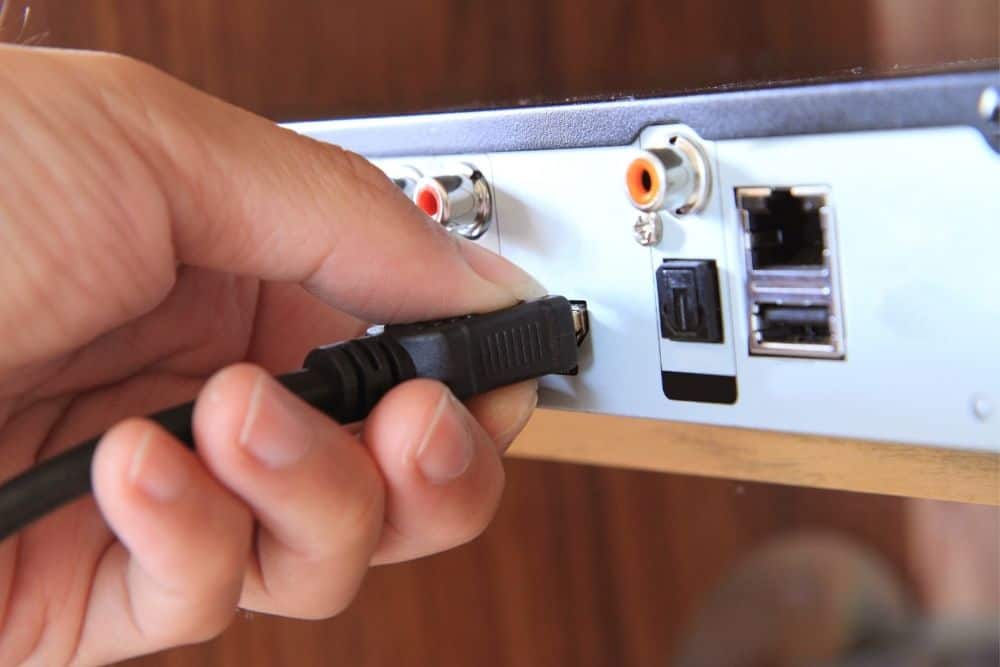
Credit: ko-fi.com
Preparing To Connect Your Switch
When preparing to connect your Switch to a projector, the first step is to locate the necessary cables and adapters. Ensure that your Switch is ready for connection by checking its settings and making necessary adjustments. Once ready, turn on the projector and access the input menu to select the appropriate input source for the Switch. Connect the Switch to the projector using the appropriate cables and adapters, and you should be ready to start gaming or enjoying other content on a larger screen.
Step-by-step Connection Guide
Connecting your Switch to a projector is a simple process that involves physical connection with an HDMI cable and configuring the display settings on the Switch.
First, connect one end of the HDMI cable to the HDMI out port of the Switch dock and the other end to the projector’s HDMI input. Next, power on the projector and navigate to the input source for the HDMI connection.
Now, on the Switch, go to System Settings, then TV Output, and select 1080p for best resolution. If the image doesn’t appear, check the HDMI cable connection and the projector’s input settings. Ensure the projector is on the correct input source. If you encounter any issues, try using a different HDMI cable and cleaning the USB-C connection on the Switch dock.
Connecting Switch Without Hdmi
When connecting your Nintendo Switch to a projector without HDMI, there are alternative methods that allow for seamless setup and usage. Utilizing adapters for USB-C to HDMI conversion is an effective approach, as it provides a simple and straightforward connection between the Switch and the projector. Additionally, exploring wireless connection options can offer a convenient solution, enabling a hassle-free setup and usage experience without the need for physical cables. By considering these alternative methods, connecting your Nintendo Switch to a projector without HDMI can be achieved with ease and efficiency.
Optimizing Your Gaming Experience
Adjusting projector settings is crucial for achieving the best visuals during your gaming session. Ensure proper calibration for brightness, contrast, and color accuracy to enhance the gaming visuals.
Consider investing in quality audio solutions for enhanced sound quality. This can significantly improve your gaming experience by providing immersive audio.
Accessory recommendations such as gaming chairs, ergonomic keyboards, and gaming mice contribute to an engaging and comfortable gaming setup.
Maintaining The Connection
When connecting your Nintendo Switch to a projector, it is essential to carefully maintain the connection to ensure seamless performance. Start by regularly checking and maintaining the cables and adapters to avoid any potential breakages or loose connections. Additionally, make sure to update both your Switch and projector regularly to ensure compatibility and optimal performance.
In case of any lag or performance issues, start by optimizing the settings on both your Switch and projector. Look into adjusting the resolution, refresh rate, and other relevant settings to address any performance issues. By following these care tips and performance optimization techniques, you can ensure a seamless connection between your Nintendo Switch and projector.
Frequently Asked Questions On How To Connect Switch To Projector
How Do I Connect A Switch To A Projector Without A Dock?
To connect a switch to a projector without a dock, use an HDMI cable directly to the projector.
Can You Connect A Switch Lite To A Projector?
Yes, you can connect a Switch Lite to a projector using an HDMI cable or an HDMI adapter.
How Do You Connect A Switch To A Screen With Hdmi?
To connect a switch to a screen with HDMI, plug one end of the HDMI cable into the switch’s dock labeled “HDMI OUT,” and the other end into the screen’s HDMI port.
How Do I Connect My Hdmi To My Projector?
To connect your HDMI to your projector, plug one end of the HDMI cable into your video source’s HDMI output and the other end into the projector’s HDMI port. If using an optical HDMI cable, connect its USB power connector to the Opt port.
Conclusion
Connecting your Nintendo Switch to a projector is a straightforward process that enhances your gaming experience. With the right HDMI cable or adapter, you can enjoy gaming on a larger screen. Follow the steps outlined in this guide to seamlessly connect your Switch to a projector and elevate your gaming setup.